

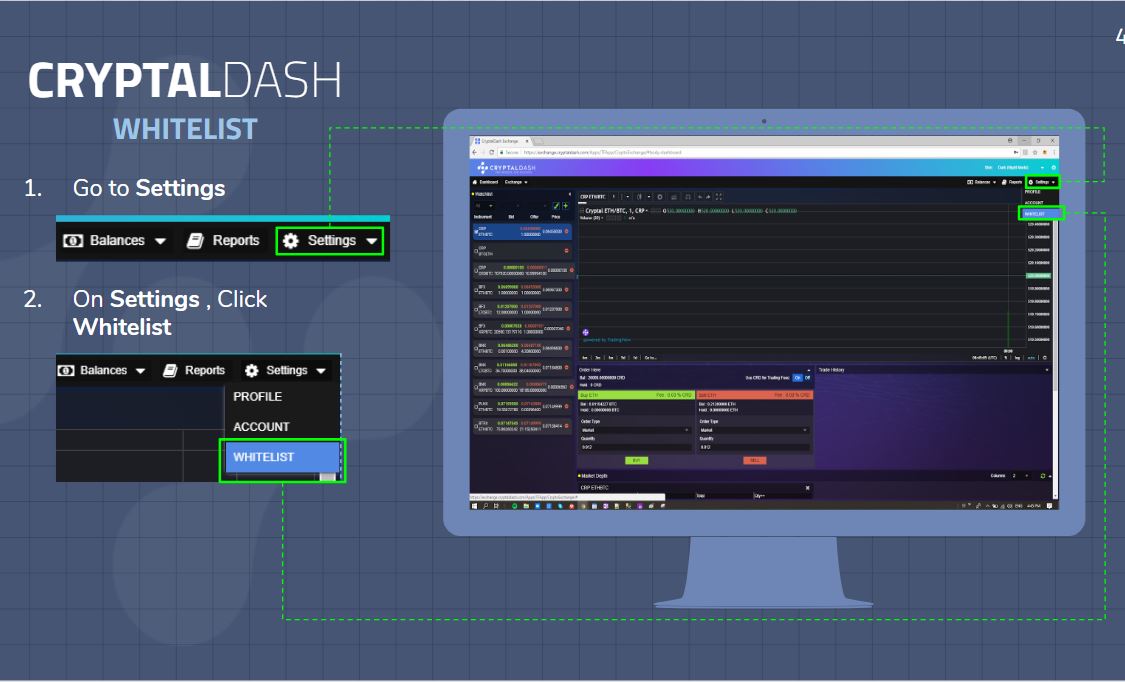
1. Go to Settings.

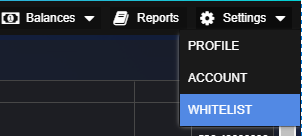
2. On the Settings dropdown box, click Whitelist.
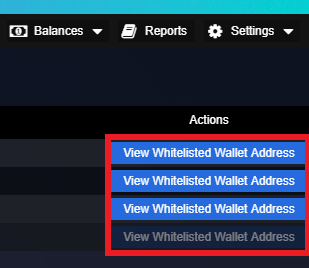
3. Click View Whitelisted Wallet Address button on a chosen currency.

A closer look at View Whitelisted Wallet Address button.
4. Click Add on the Whitelisted Wallet Address Window. In the example below, its ETH.

IMPORTANT: You must enable two-factor authentication or 2FA when adding a whitelist address.
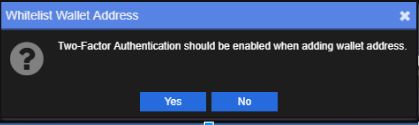
Here's how to enable your 2FA: https://help.cryptaldash.com/hc/en-us/articles/360006808074-How-to-enable-or-disable-Google-Authenticator
5. On the Whitelist Address Registration screen, fill out all the fields.
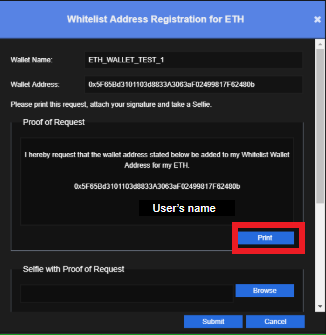
6. Upon clicking Print, you will be directed to the Proof of Request pane.
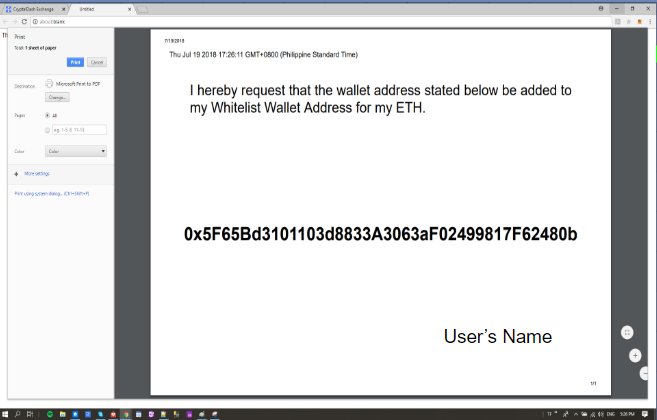
7. Then Print the Proof of Request. Refer to the above screenshot for a sample of the Proof of Request
8. Take a selfie holding your printed Proof of Request. The format is below.
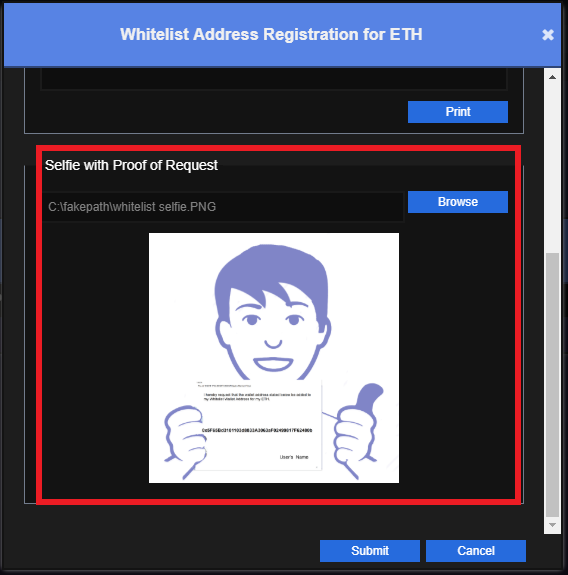
9. Upload the selfie. Refer to the screenshot above.
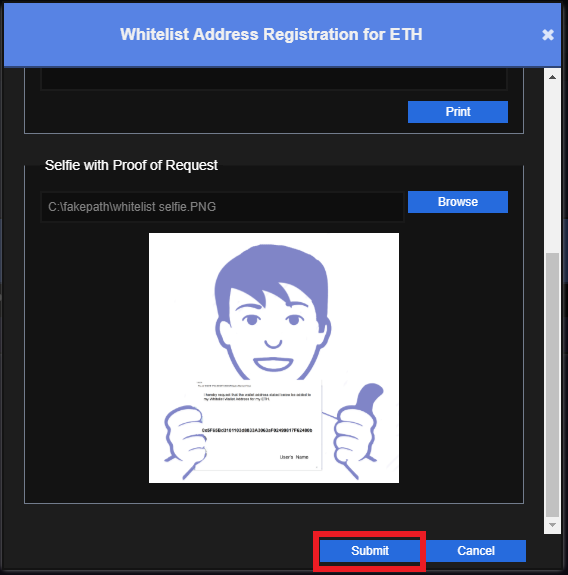
10. Click Submit.
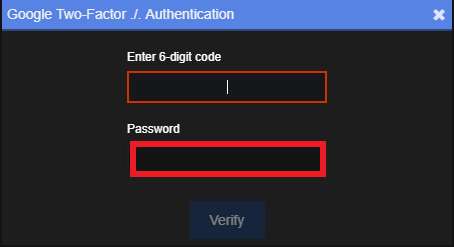
11. Enter the 2FA key generated on your phone and password. Click Verify.
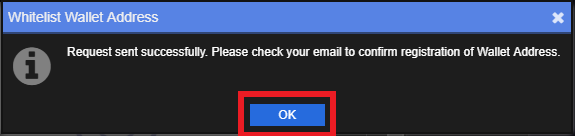
12. Click OK button.
13. Confirm application on email.
***
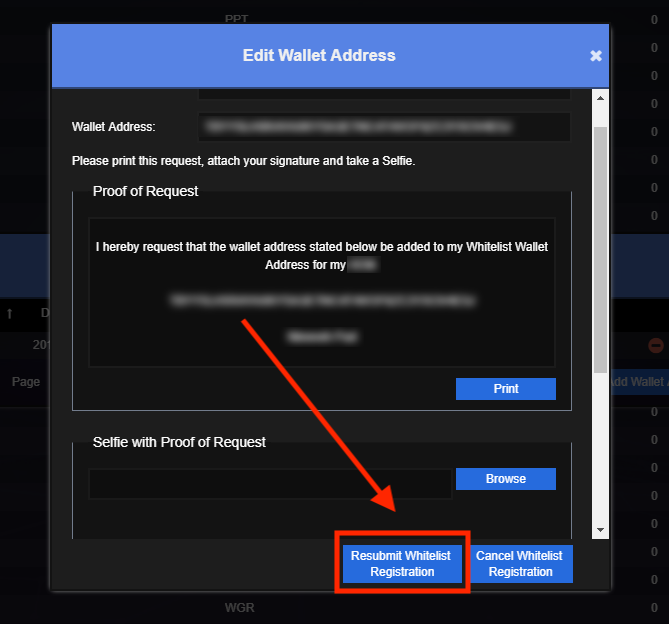
You can resubmit your wallet for whitelist registration or cancel it, as shown here.
Comments
0 comments
Article is closed for comments.